Navigation
The application consists of 3 key views. They are:
- Recent Documents
- Matters
- Account Management

Recent Documents is the default landing view when you sign in. New documents shared by your organization (outgoing) or shared with your organization (incoming) that you are authorized to access are listed here. Documents remain in the Recent Documents view for a maximum of 30 days. You can access them from the Matters view after that.
The Matters view lists all matters you are authorized to access. You can create new matters, and documents can be viewed by matter from the Matters view.
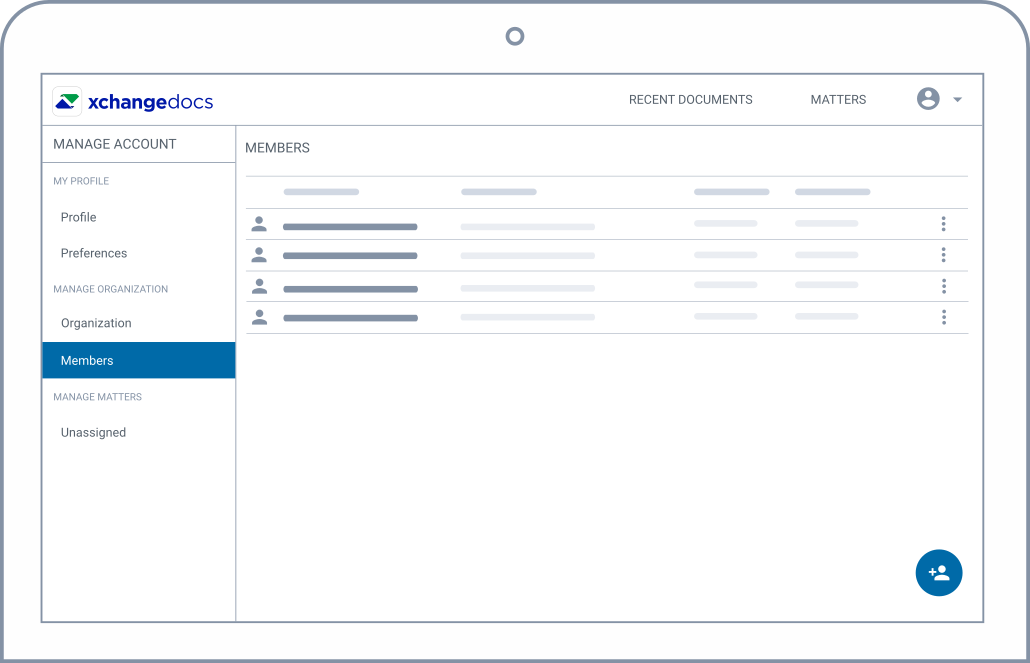
The Account Management view will differ depending on your role. Users can manage their profile and preferences. Users with admin rights will also be able to manage organization details and add or remove members from this view.
Add a matter
You can add a matter from the Matters view by selecting the Add action __ located on the Matters List panel.

Adding co-participants is optional when creating a matter. The creator of the matter is set as a participant by default. Only existing members can be added as matter participants.
> Learn more about adding a matter
Upload a document
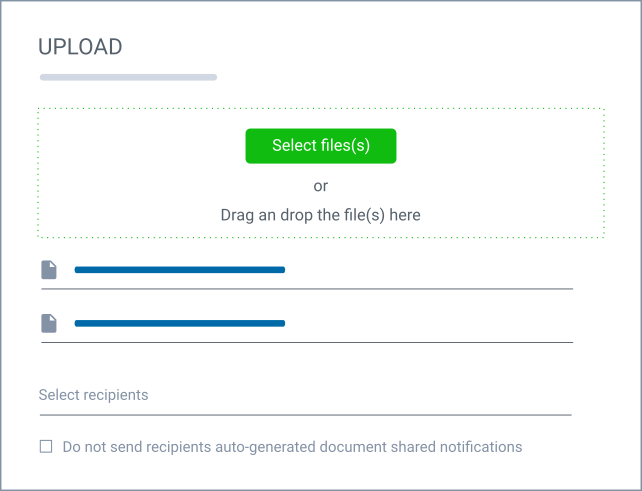
To upload a document, you first need to select a matter. On the Matter Title bar, chose the Upload __ action.

You can upload multiple documents with the option to update the document description. Leave the Recipients field blank if you do not want to share the documents. Participants can share uploaded documents at any time.

Documents successfully uploaded are listed on the matter's document list.
> Learn more about uploading a document
Share a document
To upload and share documents in one process, see the section Upload a Document. To share existing documents, select the Share action ___ located on the document's context menu ___ to start the Sharing process.

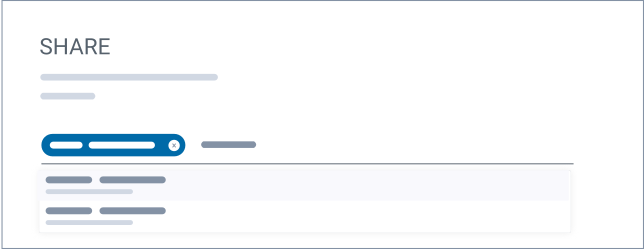
On the Share view, enter the email addresses of all document recipients and select to share the document.

Current document recipients are made visible from the matter's Document List - see Shared With field. Alternatively, view all recipients on the Document Summary panel when a document is selected.

A document shared can be revoked if you've accidentally shared it with the wrong recipient.
> Learn more about sharing a document
Classify a document
Documents not associated (classified) with a matter will show in the Recent Documents and Unclassified Documents views. To classify a document, select the Classify action ___ for the specific document.

> Learn more about document classification
Revoke a document shared
A document shared can be revoked by selecting the Revoke action ___ from the Share sub-menu located on the document's context menu ___.

Select all recipients that should be revoked from the list of current recipients provided. Once revoked, the recipient will no longer have access to the document in xchangedocs.
> Learn more about revoking a document
Add a member
Members can be added to xchangedocs by an account administrator. To add members, select the Members menu item from the Account Management menu. Select the Add Member button ___ and provide the required member details. Once the member has been added, they will show in the Members List.

A newly added member will receive an email notification and is required to activate the user account by following the link supplied in the email. User membership is set to ‘active’ once the user has completed the activation process.

